This is the third part of the 6 part guide which describes how to install Informatica PowerCenter 9.6.1 for personal use
- How to get and unpack the legitimate copies of the software packages (see Part 1)
- How to install Oracle 11g and create a database for Informatica repository and domain (see Part 2)
- How to install Informatica 9.6.1 server software
- How to install Informatica 9.6.1 client software (see Part 4)
- How to create Informatica repository and integration services (see Part5)
- How to test whether the setup is working (see Part 6)
Click here for previous post which describes How to install and configure Oracle 11g database for Informatica installation.
In this post I will describe the steps needed to install the Informatica 9.6.1 server software.
So here we start..
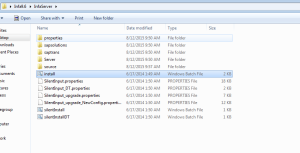
STEP1:- Goto the InfaServer folder which we created during unpacking of the Informatica 9.6.1 package. See Step 8 in part 1 of this post. Click on the install batch file in the InfaServer folder to start the installation process
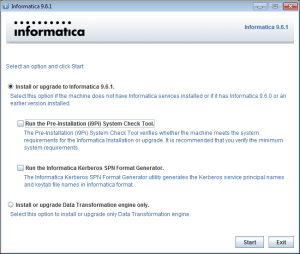
STEP2:- Select Install or upgrade to Informatica 9.6.1 option on the next screen
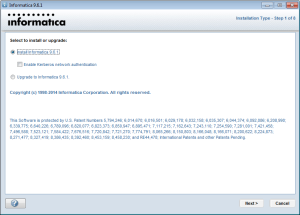
STEP3:- Select Install Informatica 9.6.1 on next screen
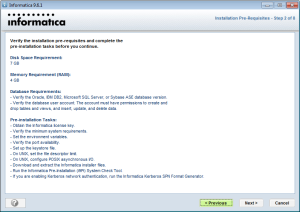
STEP4:- Click Next on the next screen. Ensure you have 7GB of disk space free and at least 4GB of RAM.
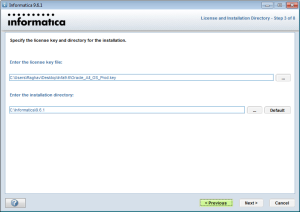
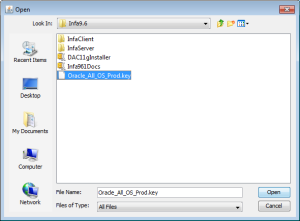
STEP5:- On the next screen locate the license file (Oracle_All_OS_Prod.key) and provide the path here. This file came with the downloaded package. See part 1 Step 8 to get this file.
Also provide the path where you want to install Informatica. Keep default if you do not want to change. Press Next.
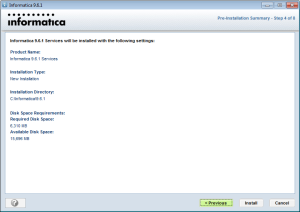
STEP6: – Click Install
Installation process will start and take a while. So chill!!
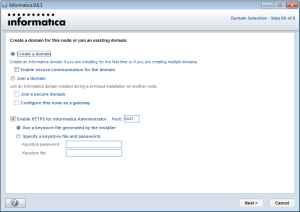
STEP7:- After the installation you will be prompted to create the Domain. Select options as per the screenshot below
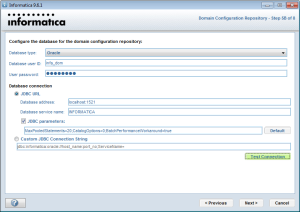
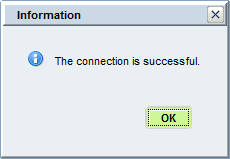
STEP8:- Provide the database information as we created in Part 2. Fill in the details as per the screenshot below. Press Test Connection button to test if Informatica is able to talk to your INFORMATICA database.
STEP9:- In the next screen provide any string which follows the password standards as it will be used as an encryption key. It is used when you move a repository to another domain. We do not need this for normal functioning of Informatica. But keep this key safe, just in case you need it. You will get below message after you select Next on this screen
STEP10:- In the next screen you will be asked to enter details for the domain you are creating like the name, port, host and Administrator user etc. Provide the information as per the screenshot below. Whatever you provide keep the details safe as you will need it when we configure the repository. The Administrator user mentioned here is used to login to the Admin console, therefore keep the password safe. Press Next
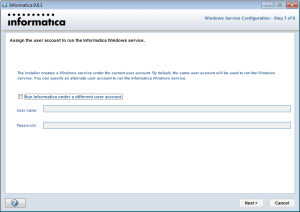
STEP11:- In the next screen uncheck the box as you would like to run the Informatica service with the same user as your windows account.
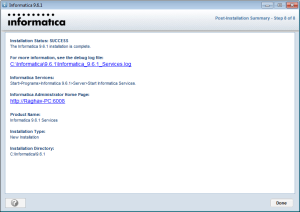
STEP12:- Click Next and you are Done installing the Informatica Server on your machine.
This completes the Informatica Server Installation and next up we will see how to install the client software in Part 4 of this post.
By now I hope you are not bored as this is a long process and takes lot of dedication on your part. kudos to your effort and thanks for following until now.
Part 4 here we come!!


Hi
While configuring the database for the domain my test connection getting failed every time.
Error Message: Correct the database connection information and test the connection again.
I have installed 64 bit Oracle 11g express edition.
Hi!
DuringSTEP 1 the opening of the batch file caused it to show some text briefly and close. The text is like (it was kinda hard to get it ’cause the window was closing very quickly):
Error: Registry key ‘Software\JavaSoft\Java Runtime
Error: could not find java.dll
Error: Could not find Java SE Runtime Environment.
What is the problem?
nicely done Raghav. I appreciate your efforts.
it would be much easier if you could keep the screenshots little bit better quality images.
Ijust realized that screenshots are much clear when I clicked on them. Thanks
Great install thanks a lot!
Couple points if installing on Windows 10:
– Make sure you grant CONNECT priv’s (in addition to resource and dba) on infa_dom or you won’t be able to connect to Informatica domain during server install.
– before altering a user, it is usually helpful to run the following command after connecting to your pluggable database:
alter session set “_ORACLE_SCRIPT”=true;