This is the second part of the 6 part guide which describes how to install Informatica PowerCenter 9.6.1 for personal use
- How to get and unpack the legitimate copies of the software packages (see Part 1)
- How to install Oracle 11g and create a database for Informatica repository and domain
- How to install Informatica 9.6.1 server software (see Part 3)
- How to install Informatica 9.6.1 client software (see Part 4)
- How to create Informatica repository and integration services (see Part5)
- How to test whether the setup is working (see Part 6)
Click Here previous post (part1) which describes how to get and unpack required software packages
In this part I will describe How to install Oracle 11g and create a database for Informatica Repository and Domain
So here we go..
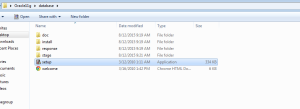
STEP1:- Go to the unzipped database folder which we unpacked in the part 1 of this post (STEP 7) and run the setup file
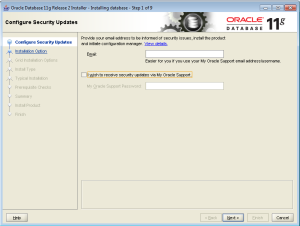
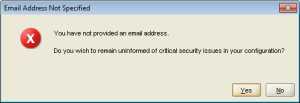
Leave everything blank in the next screen and uncheck the box for My Oracle support and press next. Ignore the warning popup and press Yes.
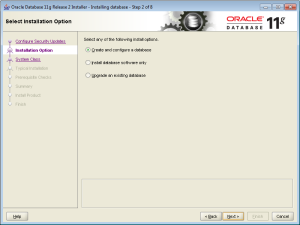
STEP2:- Select the option to Create and Configure a database
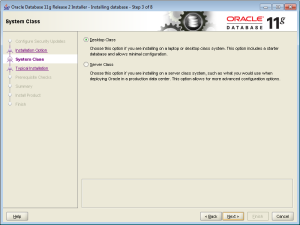
STEP3:- Select Desktop Class installation in the next screen
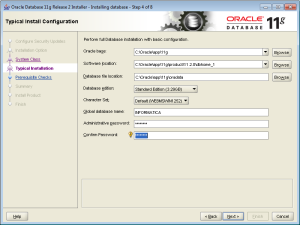
STEP4:- Set the properties in the next screen as per the screenshot below. Note Down the password you provide here. Also make sure you note down the Global Database Name your provide. Click Next
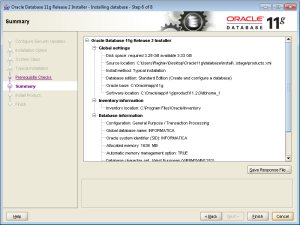
STEP5:- Wait for pre-requisites check to complete and then press Finish
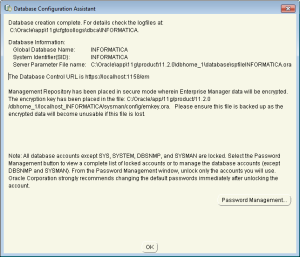
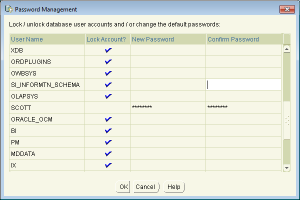
STEP 6:- After this database configuration assistant will popup. Here click on the Password Management button
unlock the following accounts and provide the same password you provided in STEP4 above.
SYS, SYSTEM and SCOTT
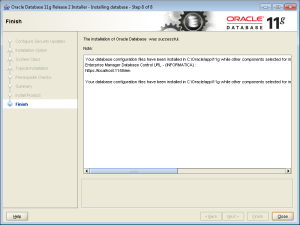
STEP7:- This will complete the installation of Oracle 11g on your windows 7 machine
Now we will create schemas for Informatica Domain and Informatica Repository databases. We will also provide some grants required for Informatica to install repository on this database
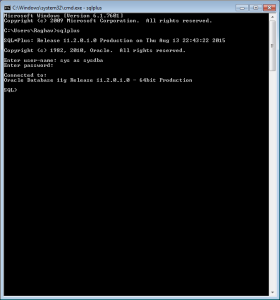
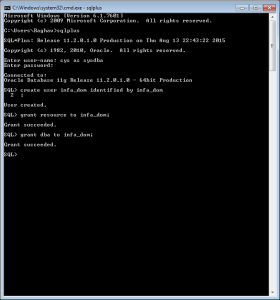
STEP8:- Goto command prompt on the windows 7 machine and type sqlplus on command line
Enter the username and password.
Username :- sys as sysdba
Password:- As in step 4
STEP9:- Create schema for Informatica Domain
Schema name:- infa_dom
Identified by: – infa_dom
Command:- create user info_dom identified by info_dom
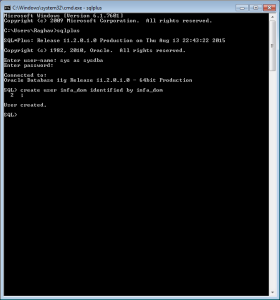
I have kept the password same as Schema Name for simplicity. You can give anything you like but do note it down as we will need this during Informatica server installation.
Run the following grants after user is created
Grant resource, dba to infa_dom;
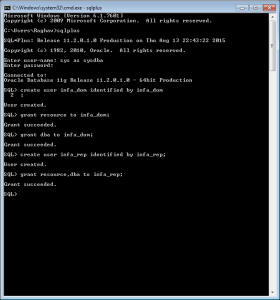
STEP10:- Follow similar steps to create schema for Informatica Repository database
Schema Name :- infa_rep
Identified By :- infa_rep
Grant resource, dba to infa_rep;
Keep the passwords safe for infa_rep and infa_dom schemas that we just created. We will use it while installing the Informatica Server.
This completes the Oracle 11g installation and configuration of database for Informatica installation. Please see part 3 of this post to continue with the Informatica Server installation.
You can write to me at raghavatalblog@gmail.com or follow me on twitter @atalraghav
See you in a bit!!
Nice work Raghav!
HI Raghav,
Thanks very much for nice tutorial. when i was creating infa_rep and infa_dom user, it didnt ask any password .
I just got that “user Created”.In this case what password i need to enter while installing server and client.
Hi Raghav,
I have a question about licencing Informatica PowerCenter.
Let’s assume that I’ve my own personal oracle account and I download the Informatica software from http://edelivery.oracle.com
Are you sure I do not pay for anything?
Sorry for my english 🙂