This is the fourth part of the 6 part guide which describes how to install Informatica PowerCenter 9.6.1 for personal use
- How to get and unpack the legitimate copies of the software packages (see Part 1)
- How to install Oracle 11g and create a database for Informatica repository and domain (see Part 2)
- How to install Informatica 9.6.1 server software (see Part 3)
- How to install Informatica 9.6.1 client software
- How to create Informatica repository and integration services (see Part5)
- How to test whether the setup is working (see Part 6)
Click here for previous post which describes How to install Informatica Server
In this post I will describe How to Install the Informatica 9.6.1 client software
Without further ado lets dive in!!
STEP1:- Goto the InfaClient folder that we created while unpacking the Informatica 9.6.1 package as mentioned in Step8 of part 1 of this post. Double click the install batch file to begin client installation.

STEP2:- In the next screen select the option Install Informatica 9.6.1 clients and then click Next.

STEP3:- Ensure you have 5GB of free disk space and click Next on the next screen

STEP4:- Select all the option on the next screen and click Next

STEP5:- Provide the installation directory where you want it to be installed. Keep the default.

STEP6:- Select Install Data Tranformation Studio and a standalone copy of Eclipse in the next screen and click Next
 \\
\\
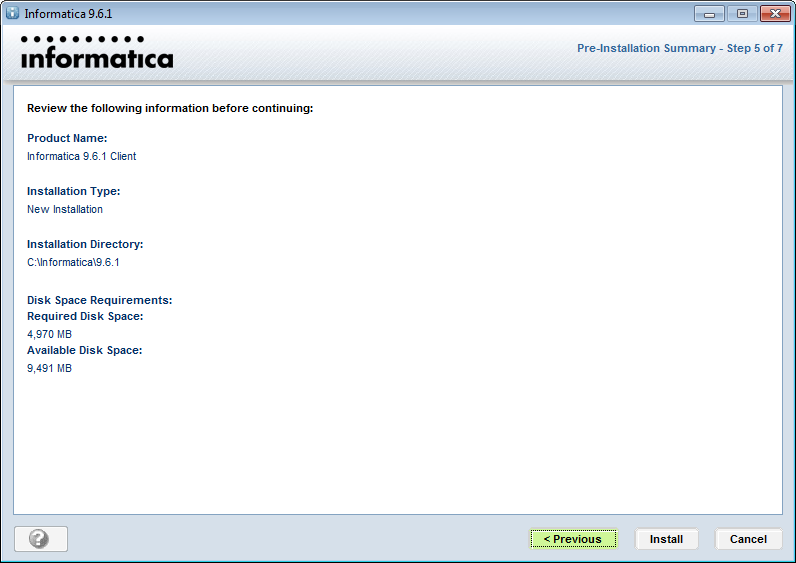
STEP7:- Click Install on the next screen to start the installation of client software

STEP8:- Click Done when installation is complete

This completes the client installation and you can find the PowerCenter Designer, Workflow Manager and Monitor tools in your All Programs-> Informatica 9.6.1 menu.
We are done with 80% of the work. Now we are left with creating the repository and integration services and testing if it all works.
See Part 5 on How to create repository and integration services.
Lets Go!!